Installation
Install Phoenix MCP through HACS, restart Home Assistant, then add the integration. It runs inside Home Assistant and needs no separate service.
Requirements
- Home Assistant
- 2025.2.0 or later. Optional feature minimums: in-context profile control 2025.5, AI Task 2025.7, and semantic moments 2026.7. The panel disables a feature when your version cannot run it.
- Instances
- One Phoenix MCP instance per Home Assistant. The config flow will not let you add a second.
- Dependencies
- None beyond what Home Assistant already ships. No Python packages to install.
Install through HACS
HACS is the recommended path because it handles updates for you.
Open custom repositories
In HACS, go to Integrations and open the menu in the top-right corner. Choose Custom repositories.
Add the repository
Enter the repository URL and select Integration as the category, then click Add.
https://github.com/leecaochang/phoenix-mcp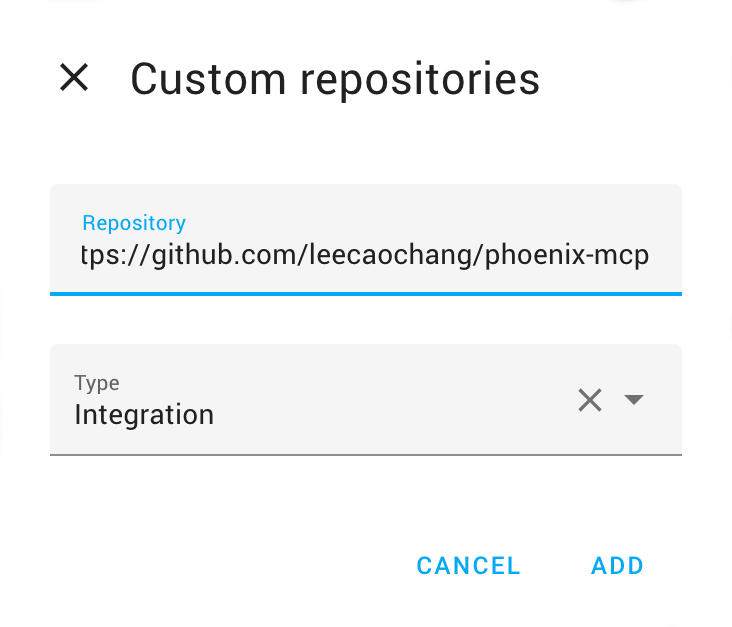
Install and restart
Find Phoenix MCP in the HACS integration list, install it, then restart Home Assistant.
Install without HACS
Install manually
If you prefer not to use HACS, copy the integration into your config directory.
Copy the integration folder
Place the custom_components/phoenix_mcp folder into your Home Assistant config directory.
<config>/custom_components/phoenix_mcp/Restart Home Assistant
Restart so Home Assistant discovers the new integration.
Set up the integration
Add the integration
Go to Settings > Devices & services > Add integration and search for Phoenix MCP.
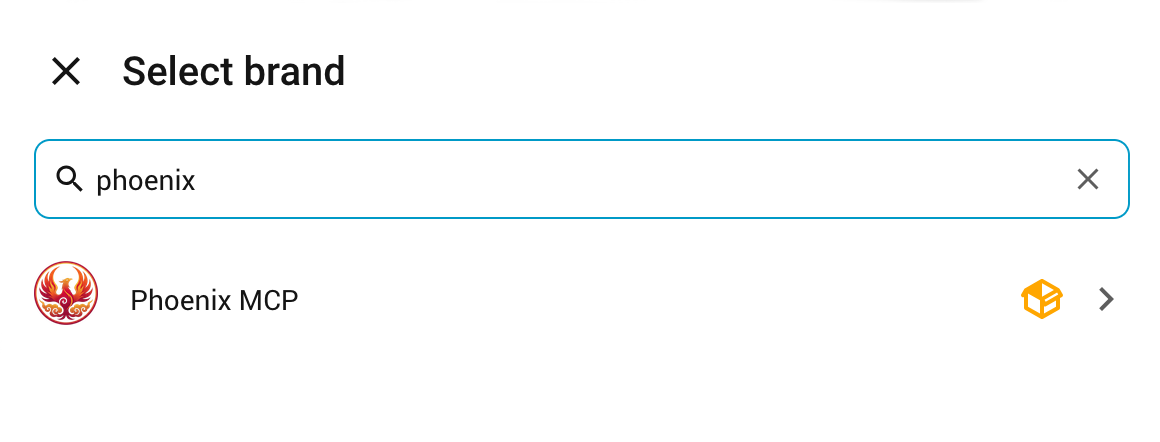
Complete the config flow
Click through the single-step config flow. There is nothing to configure here; all management happens in the panel.
Open the Phoenix MCP panel
Open the Phoenix MCP entry in your Home Assistant sidebar. This is where you create tokens, scope permissions, and read the audit log.
Panel language
The panel currently supports English, Spanish, French, German, Dutch, Polish, Russian, Simplified Chinese, Traditional Chinese, Korean, and Japanese. It follows your Home Assistant profile language by default and falls back to English when that language is unavailable.
To change it manually, open Phoenix MCP > Settings > Language and choose a language. Select Auto to follow your Home Assistant profile language again.
Phoenix MCP has no YAML configuration or options flow. Manage it from the sidebar panel after setup.
Migrating from the native HA MCP server?
Phoenix MCP replaces it entirely. Once you have created a token and pointed your AI client at /api/phoenix-mcp, you can disable or remove the native MCP integration from Settings > Devices & services. The client configuration changes in two places: the URL, and the bearer value, which becomes the phx_ token (a Home Assistant long-lived access token is not accepted). Phoenix preserves the 23 native Home Assistant tool names and input schemas, then adds 137 Phoenix tools with their own documented inputs.