Quick start
Use the guided setup to create a scoped access key, grant one entity, and run a test. Choose Agent Chat inside Home Assistant or connect an external client. Allow about five minutes.
Before you start
Phoenix MCP must be installed and added in Home Assistant (see Installation), and you need at least one controllable device such as a light. Everything below happens in the Phoenix MCP panel in your sidebar. If you plan to chat inside Home Assistant, have credentials ready for one of the supported hosted providers, or a local Ollama server with no key needed.
The guided setup
Open the panel and launch the guided setup
Open the Phoenix MCP panel from your Home Assistant sidebar. On the Access keys tab, start the guided setup ("Connect your first AI agent"). The wizard takes you from an empty access key to a working agent without leaving the panel.
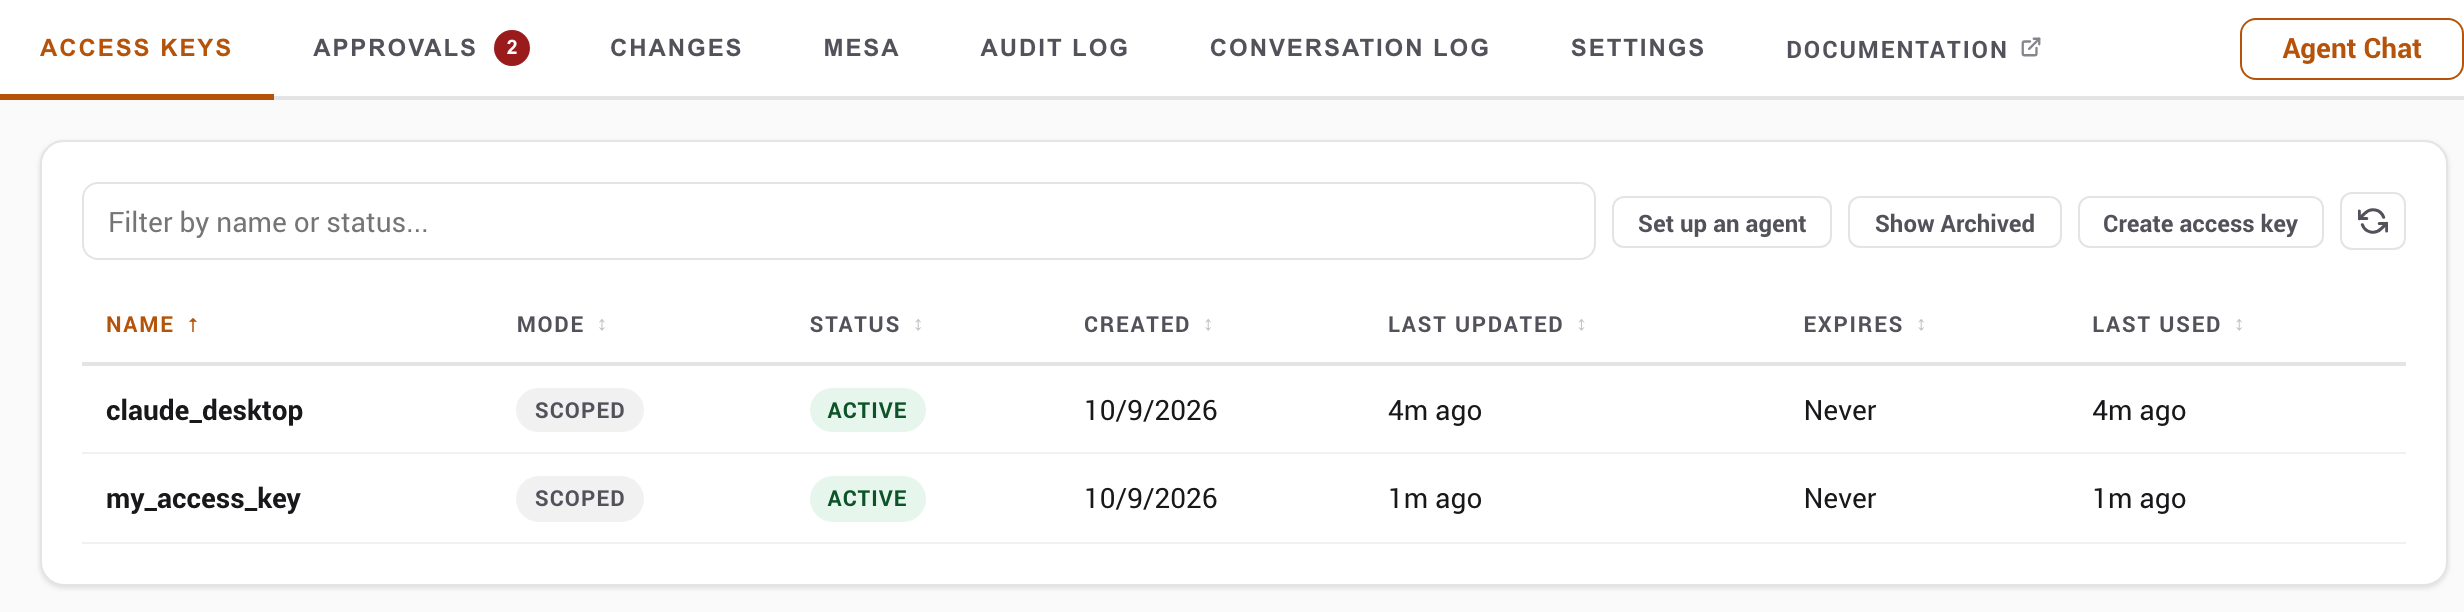
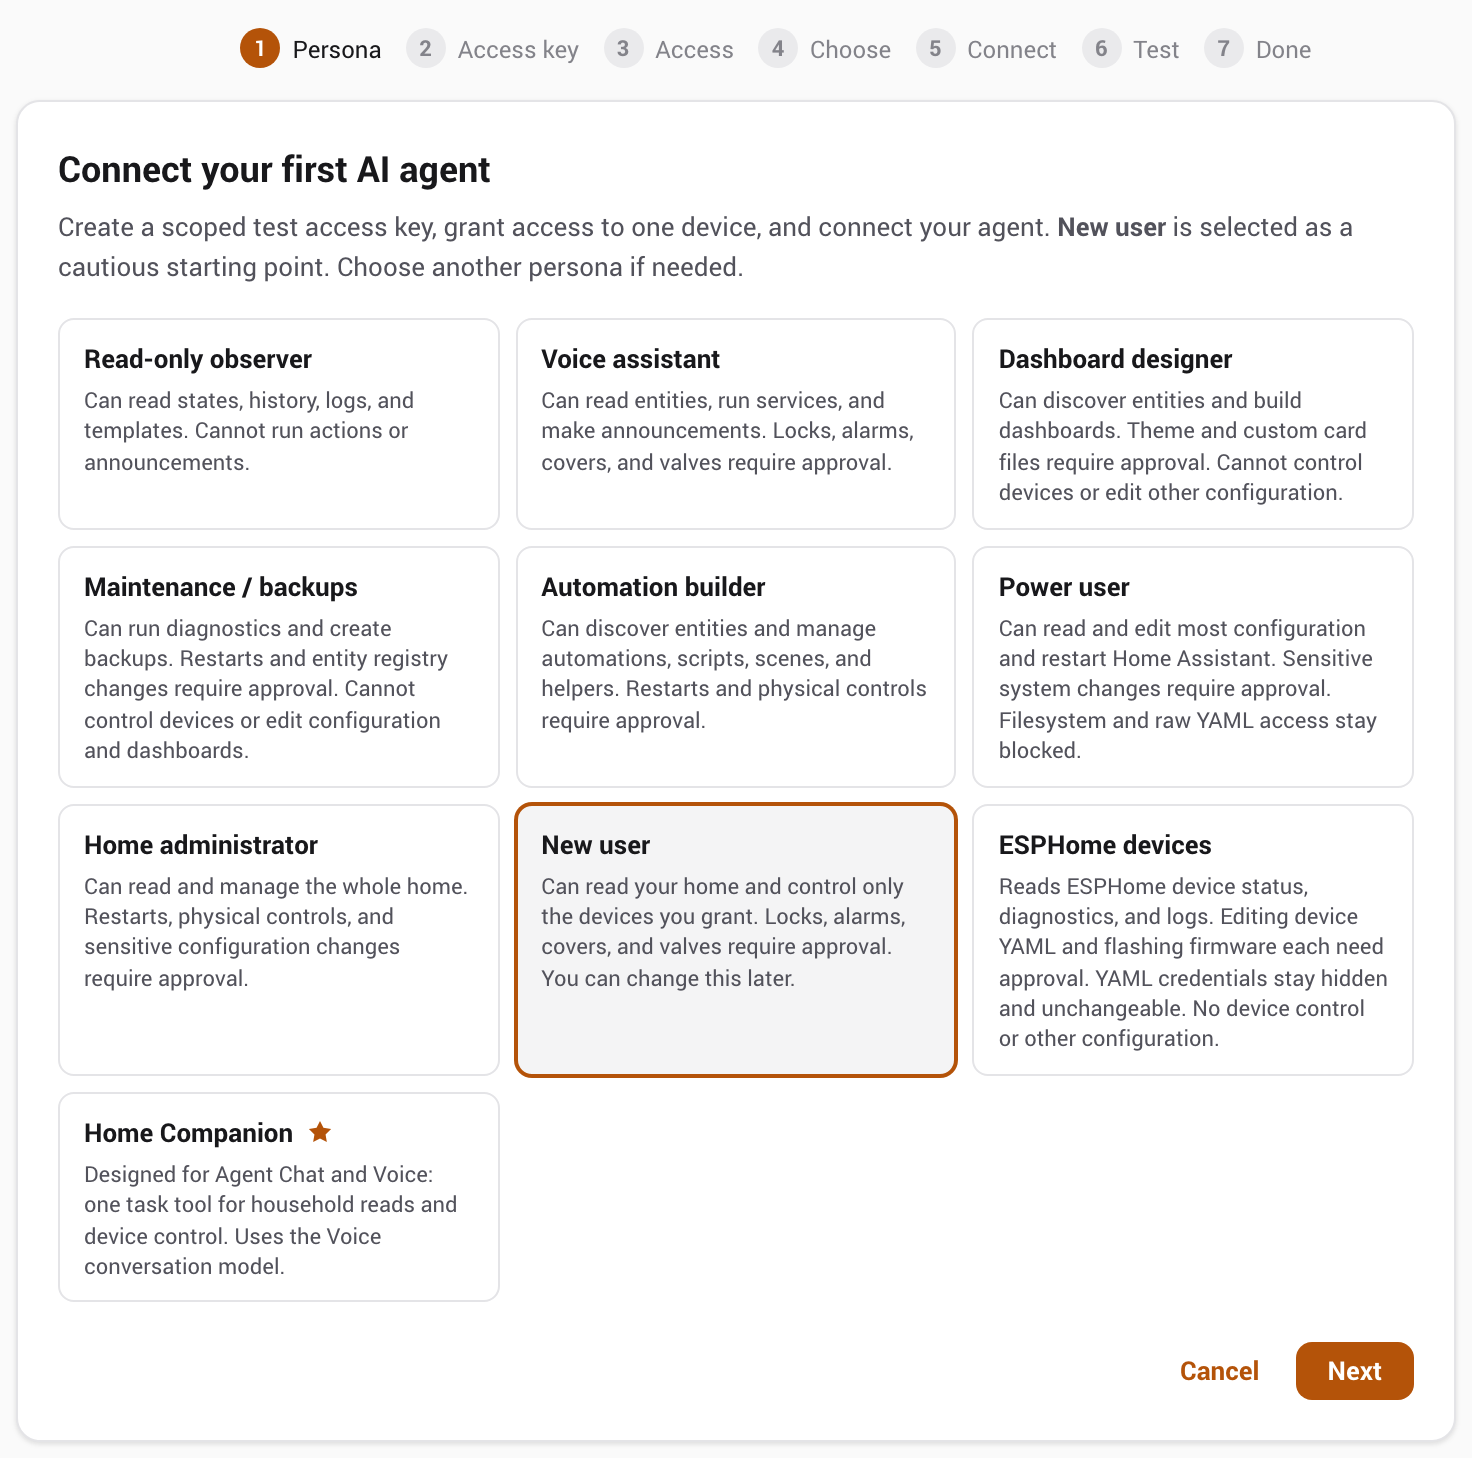
Pick a persona
A persona is a named preset that sets every capability at once: what the agent may read, what it may control, and what needs your approval. New user is preselected and is a safe starting point. It lets the agent read your home and control the devices you grant, while locks, alarms, covers, and valves ask for your confirmation.
Choosing a persona modifies the entire capability set, not just a label; you can fine-tune any single capability later. The personas are described on Capabilities.
Name the test access key
The wizard suggests my_access_key as an example; change it if you like, and set an optional expiry. The expiry is fixed once the access key is created, so set it here if you want one; the name can be changed later from the access key's detail page.
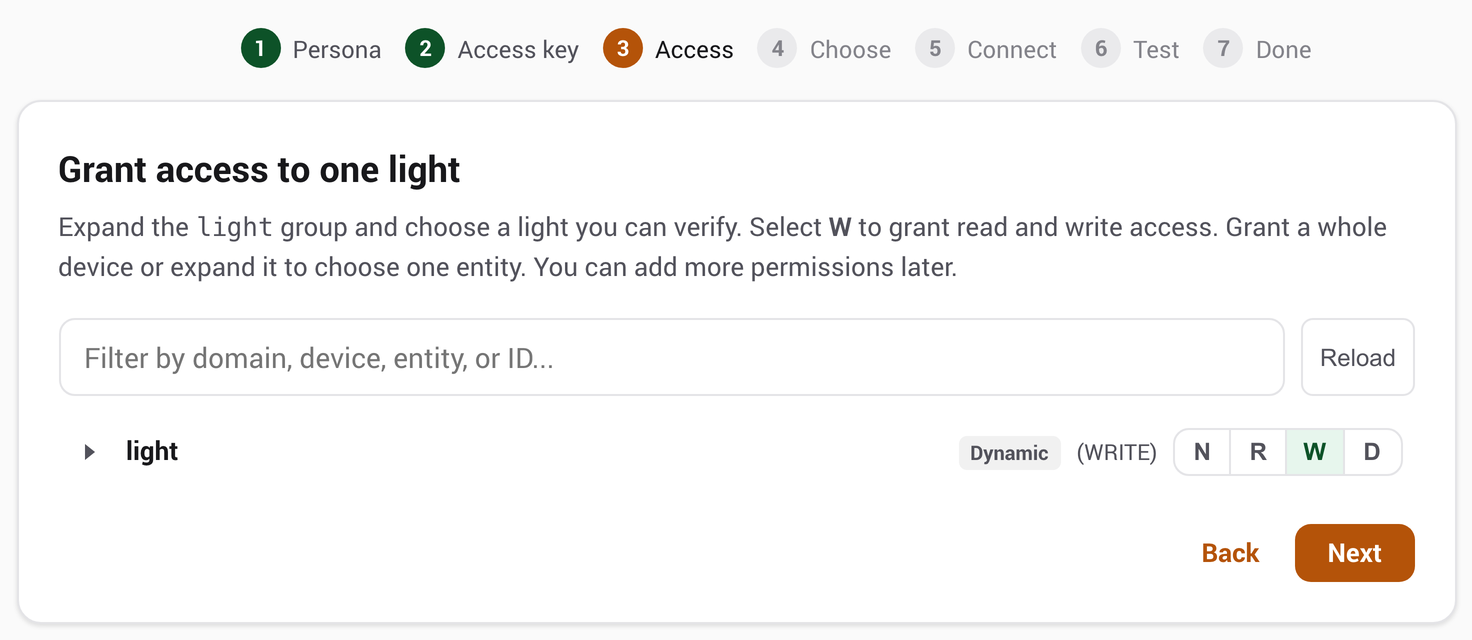
Grant access to one entity
The wizard highlights your light domain. Expand it, find a light you can physically see, and click the W button on that row to grant full read and write access; its badge changes to "WRITE". Granting one entity is enough to prove the connection; you can grant more later from the access key's detail page.
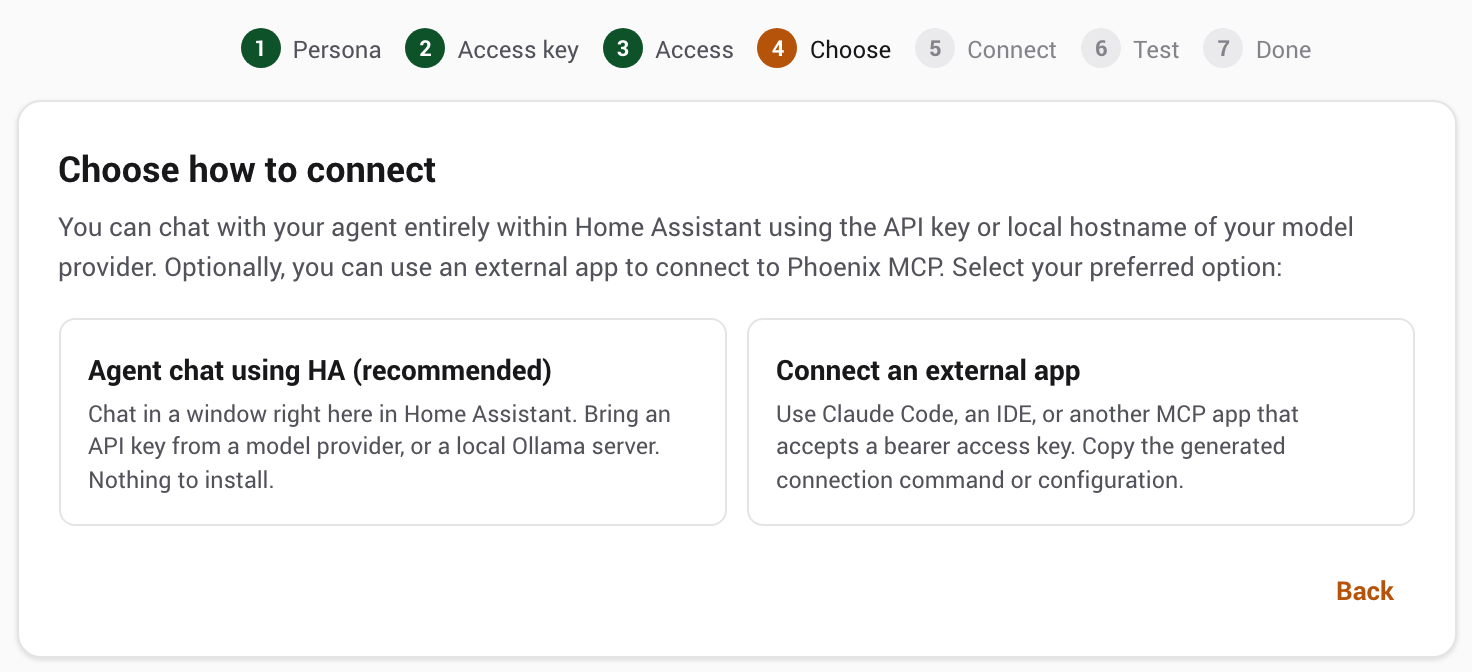
Choose how to connect
You can chat with your agent entirely inside Home Assistant using an API key or local hostname from your model provider, or connect an external app instead. Pick whichever fits:
Recommended Agent chat using HA
Chat in a window right here in Home Assistant. Bring an API key from a model provider, or a local Ollama server. Nothing to install.
Connect an external app
Use Claude Code, an IDE, or another MCP app that supports bearer authentication. Copy the generated command or configuration.
Path A: Agent chat within Home Assistant
The recommended path. Phoenix MCP runs the agent for you, inside the panel, using a model provider account you supply. There is nothing to install and no separate app to configure.
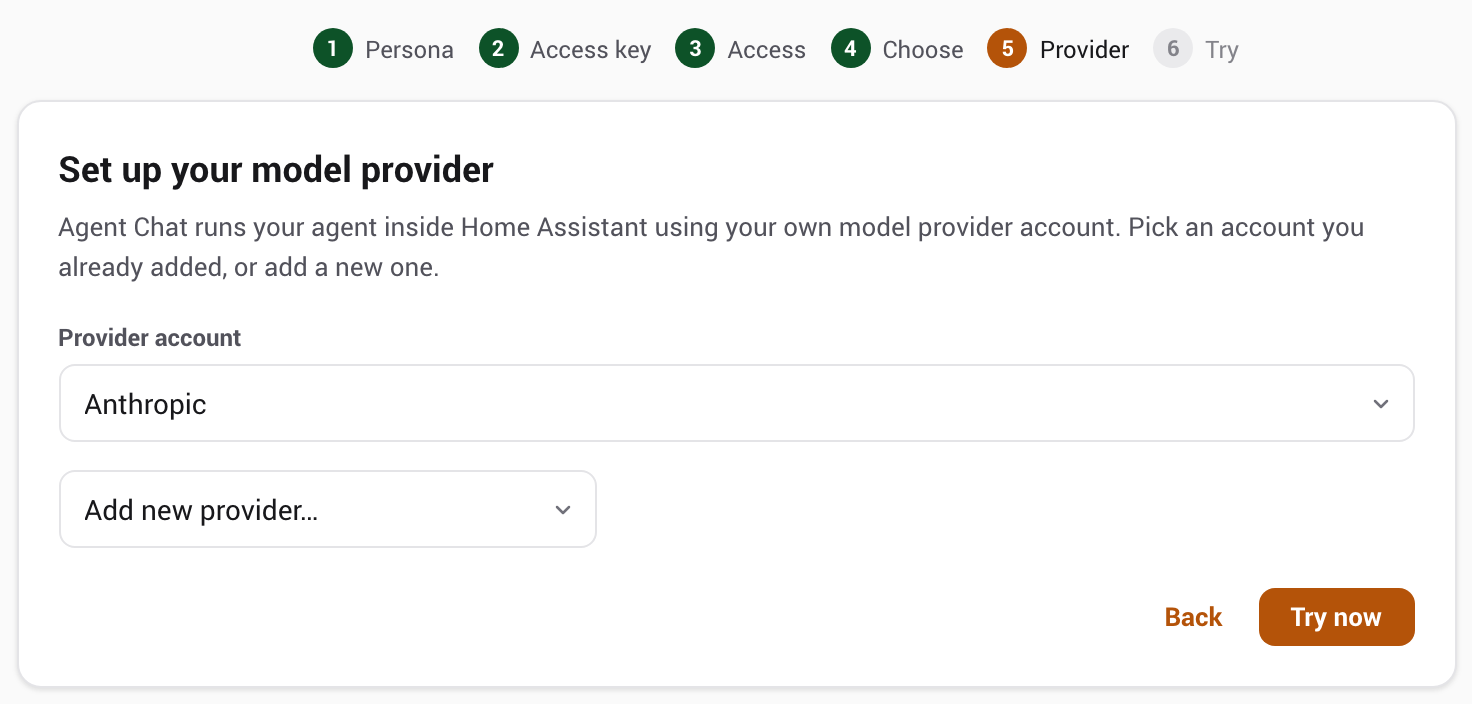
Set up your model provider
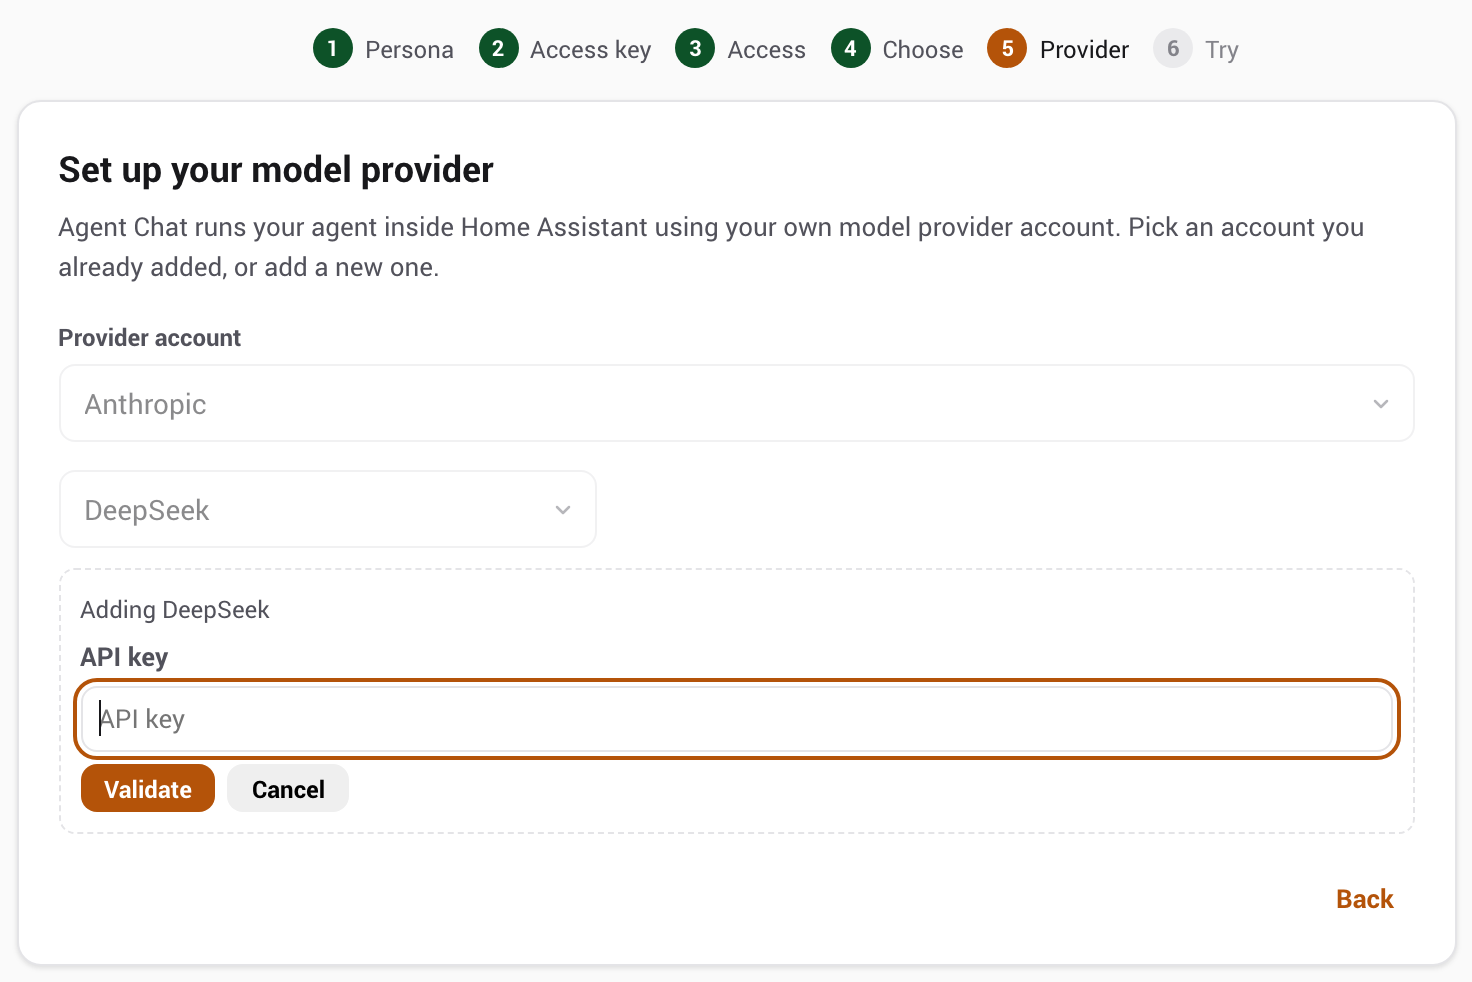
Pick a provider you have already added, or add a new one: choose from the dropdown and click Add new provider…. Paste an API key (or, for a local Ollama server, its URL) and click Validate. Validating only tests the connection and lists its models; nothing is saved until you continue. Once validated, pick a default model.
Try it
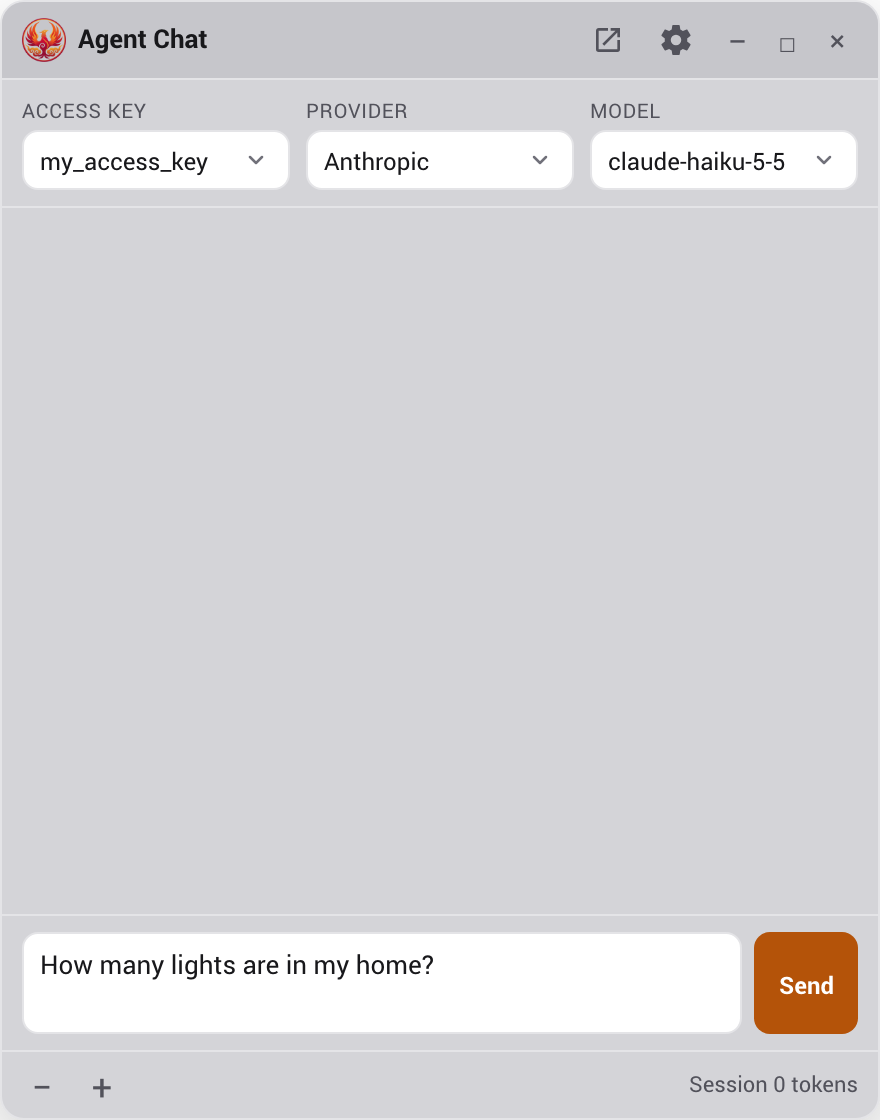
Click Try now. The wizard opens the Agent Chat window with your new access key and the provider and model you just set up already selected, and a test question typed in for you: "How many lights are in my home?" Press Send. The wizard closes as soon as you send your first prompt, so you land in a normal chat with your new agent.
Path B: Connect an external app
Use this path to drive Phoenix MCP from Claude Code, Cursor, Codex, Gemini CLI, DeepSeek Harness (experimental), or another MCP-capable client instead of chatting inside Home Assistant.
Connect your agent
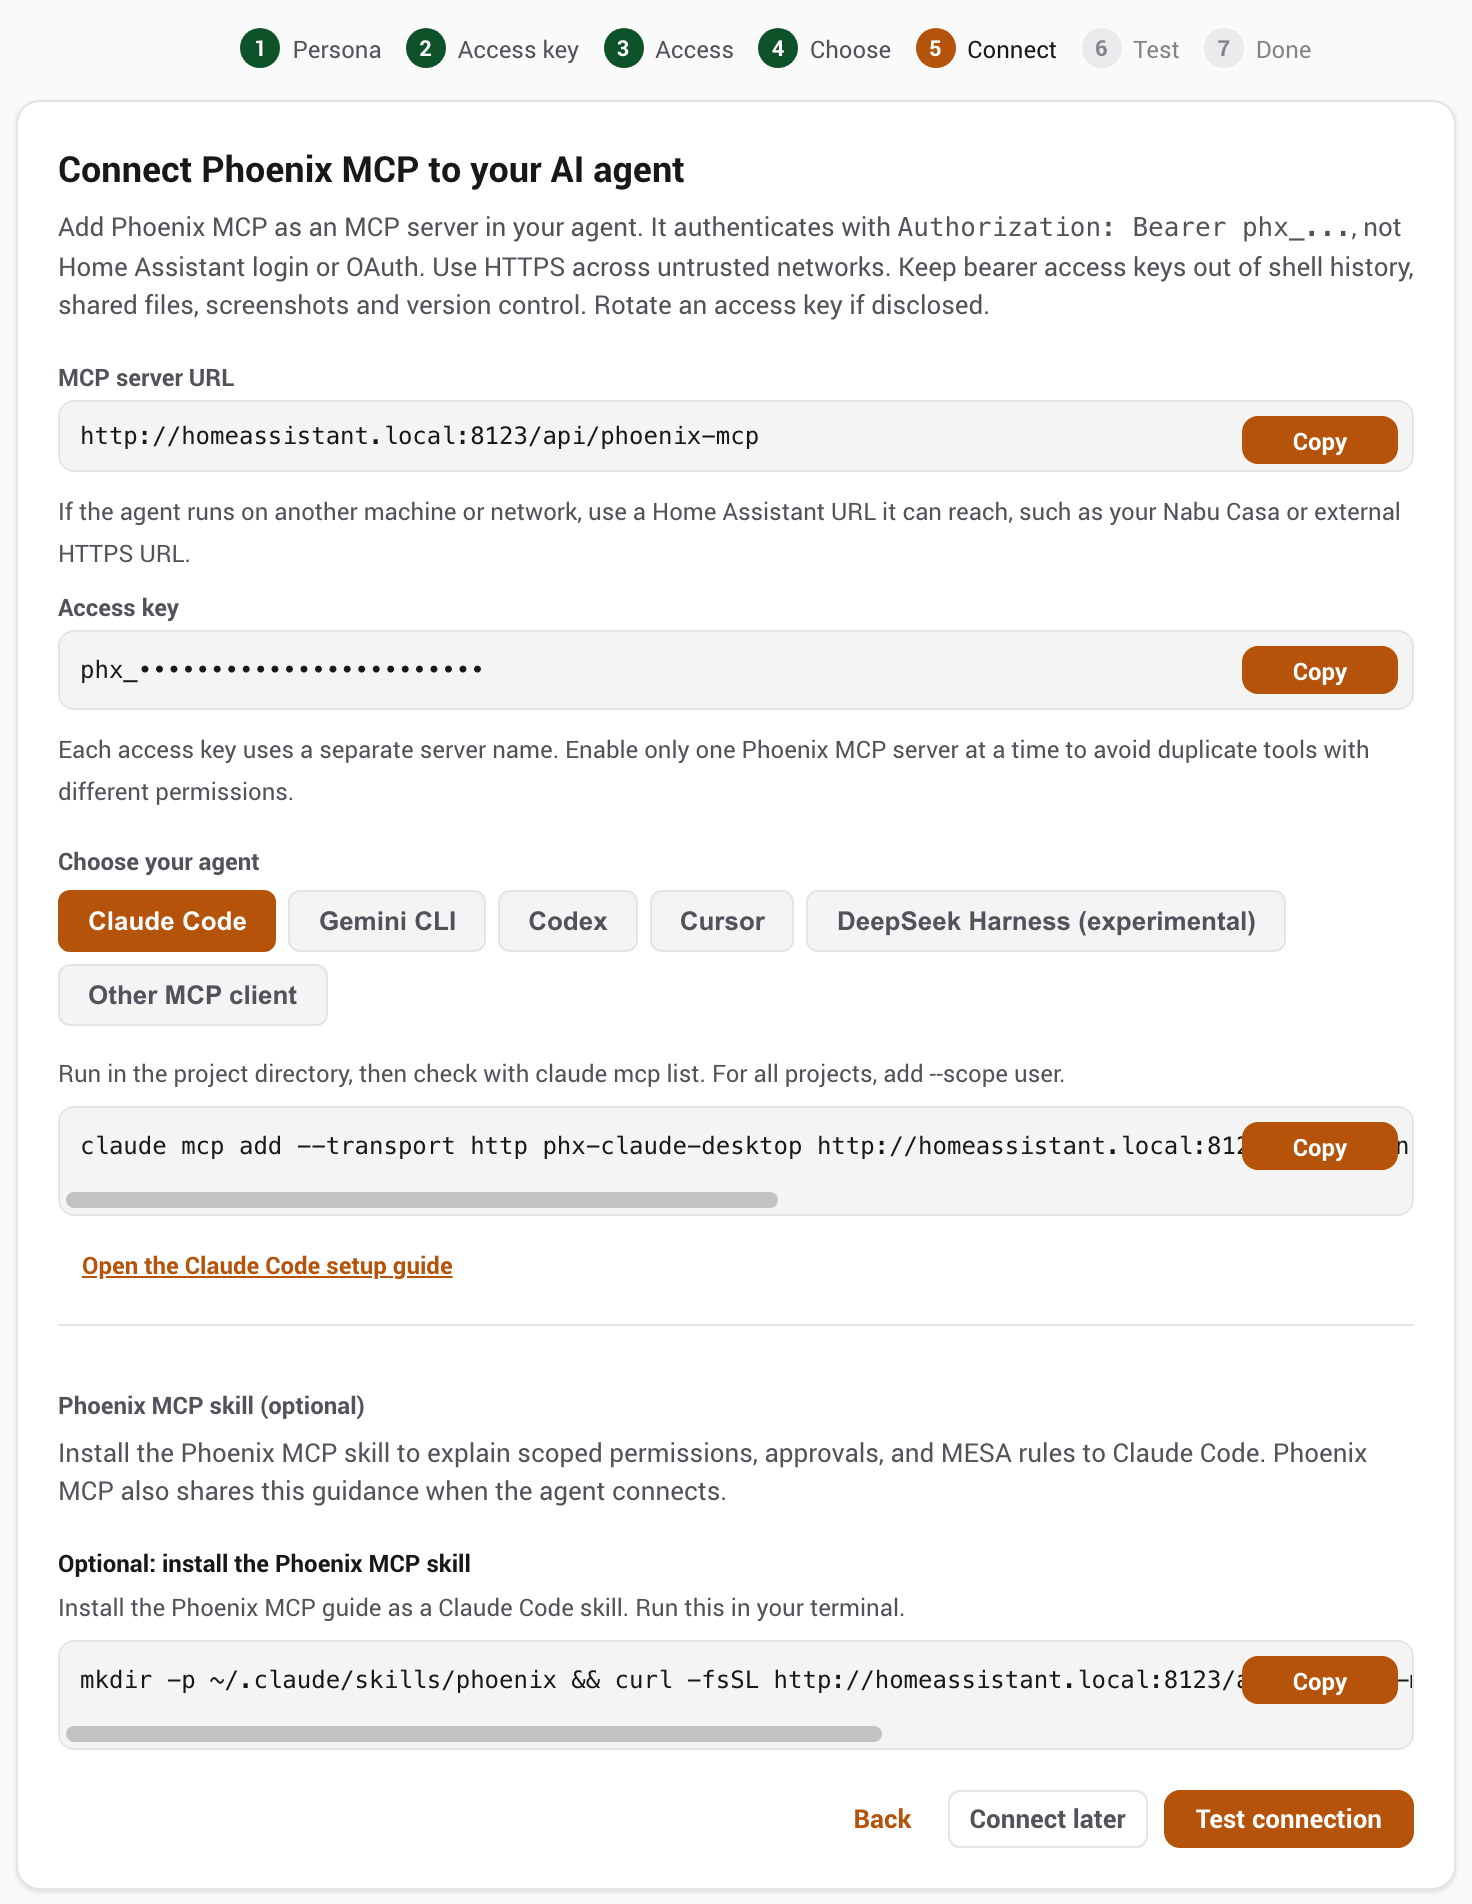
The wizard shows a ready-to-paste command for your agent, plus the raw access key value; both are shown once here.
Shown once
The access key value cannot be retrieved later. Copy it now, or copy the ready-to-paste command below, which already carries it.
Claude Code, for example, uses a single command line; substitute your Home Assistant address. Each client has its own command or configuration format. The panel shows the form for each supported client, including DeepSeek Harness, and Connect an AI client explains the file locations, environment variables, and verification steps. If you are not ready to connect an agent yet, Connect later skips straight to the end; the access key is already created and waiting on the access key page.
Run a test
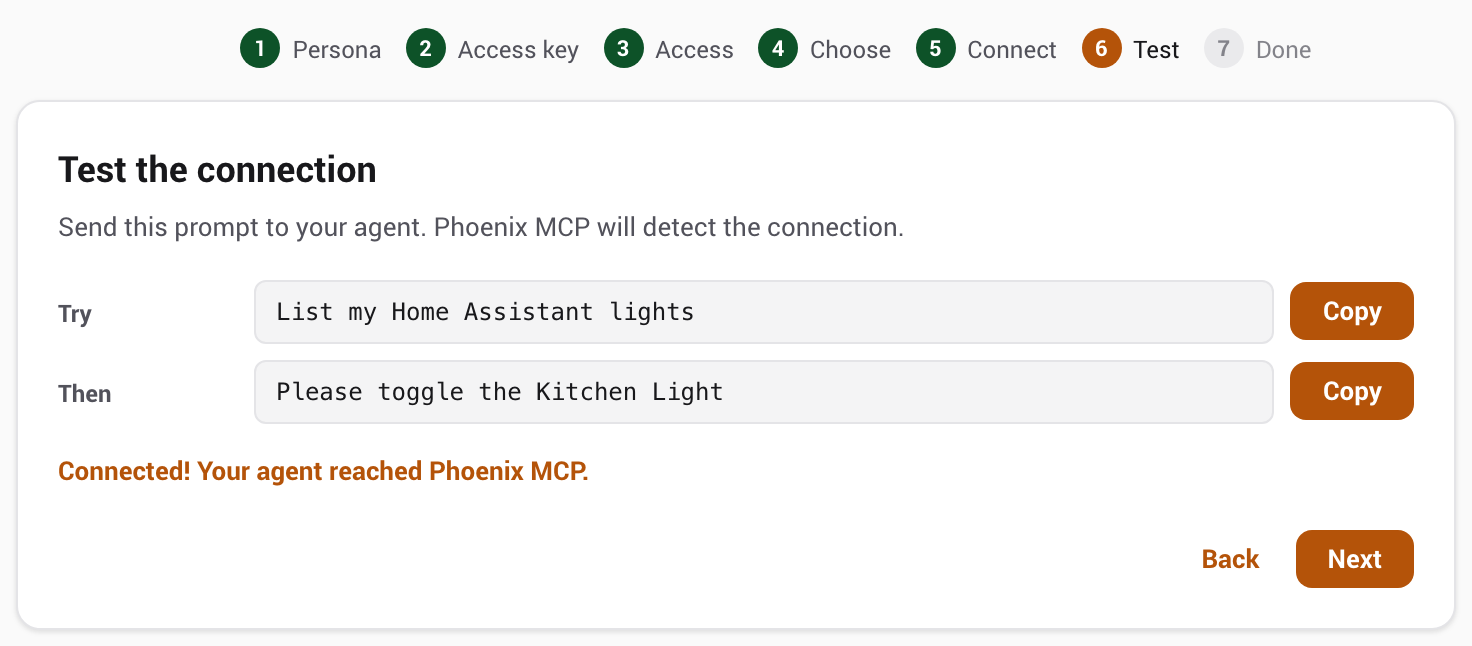
Ask your agent to do something simple, like "List my Home Assistant lights". The moment it calls Phoenix MCP, the wizard detects the connection and confirms it. That is the whole loop: a scoped access key, connected and verified.
What you end up with
Connection commands and files contain a bearer credential. Use HTTPS across untrusted networks, keep credentials out of shell history and version control, and rotate a disclosed access key. See credential handling before sharing a configuration or screenshot.
The result is a normal scoped access key, no different from one you build by hand. You can widen or tighten its permission tree, change its capabilities, or rotate its value at any time from the access key's detail page. When you are done with it, open the access key and choose Revoke; revoked access keys can then be deleted permanently from the Archived list. An open Agent Chat window refreshes its access key selection when it receives an access-key-change event; another browser may retain a stale selection until refresh. The server refuses the revoked credential on its next authorization check.
Where to go next
Agent Chat
Provider accounts, the floating window, verbose output, and everything else about chatting inside Home Assistant.
Agent Chat ConnectConnect an AI client
Per-agent commands and configs, the agent skill, and when to use a third-party server.
Connect a client ScopePermissions
The four states and the two-pass resolver that turn the tree into one decision per entity.
Permissions GateCapabilities & pass-through
The opt-in flags behind the high-impact operations, and the personas that preset them.
Capabilities OperatePanel guide
Everything the panel does: bulk select, the emulator, hints, approvals, and more.
Panel guide